Let’s learn how to draw a fish with this easy and step-by-step tutorial. Complete just 7 steps to draw a cute and adorable fish that you can colour beautifully.
Whether you are an expert or have just started drawing, we’re sure you can follow these steps effortlessly. Feel free to add your own style and customise your fish in every step.
Have fun and unleash your inner creativity!
Keep scrolling to get our detailed instructions on how to learn a fish in 7 easy steps!
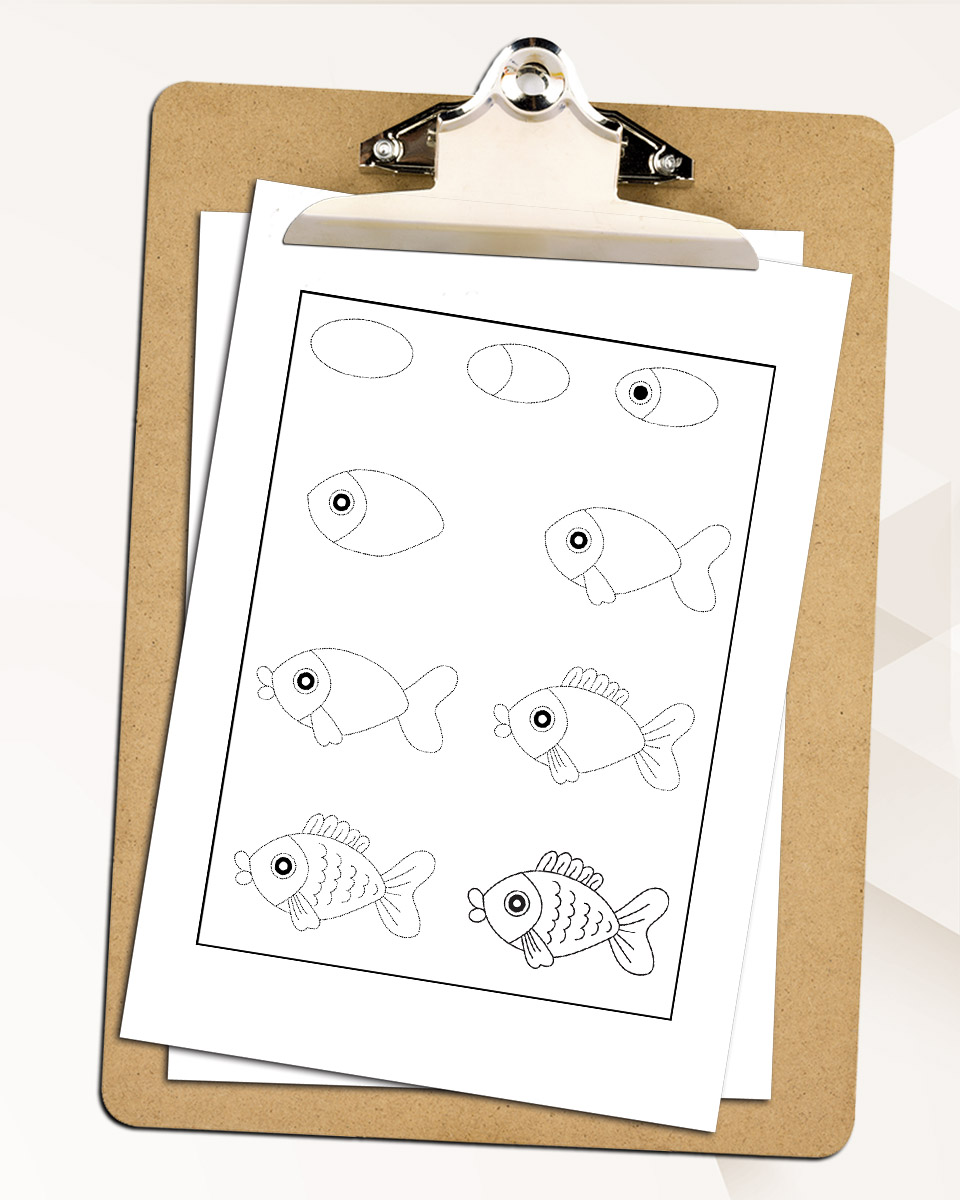
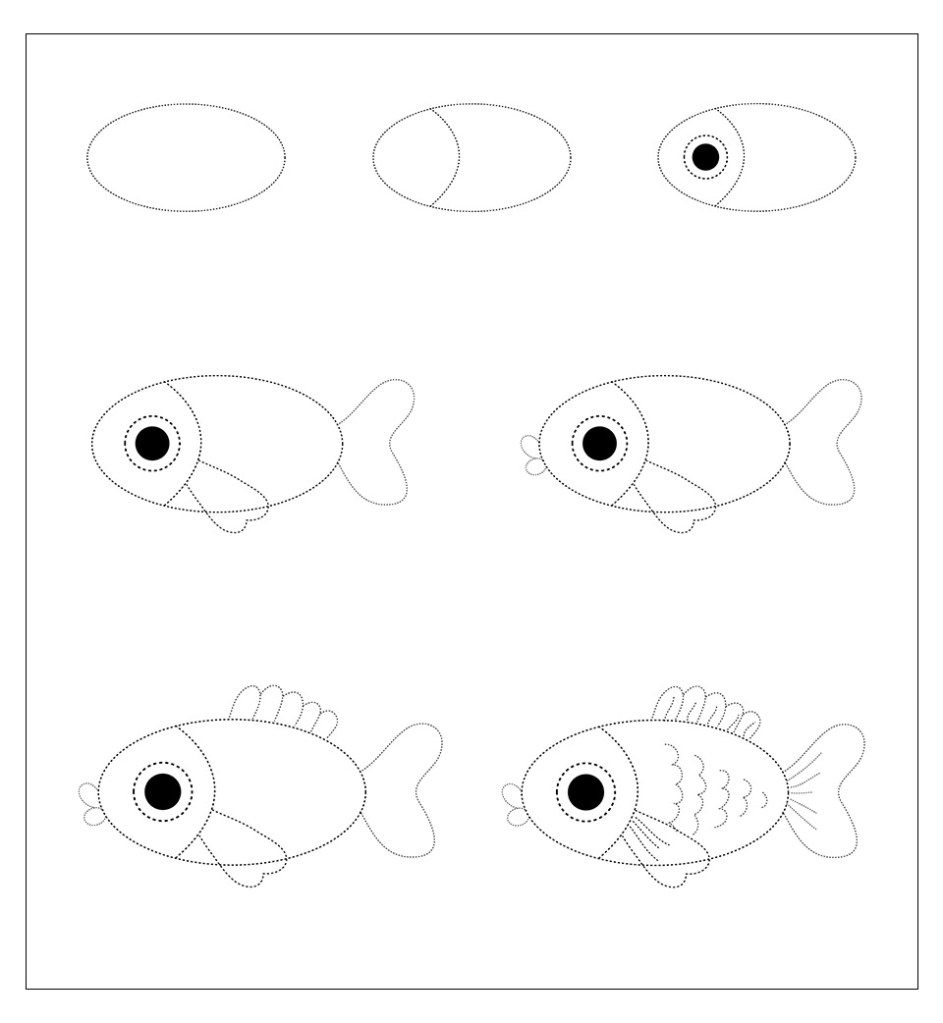
Step 1
Let us begin by drawing an oval

Step 2
Draw a curved line within the oval

Step 3
Draw 2 circles for the eyes. Shade the inside circle black.

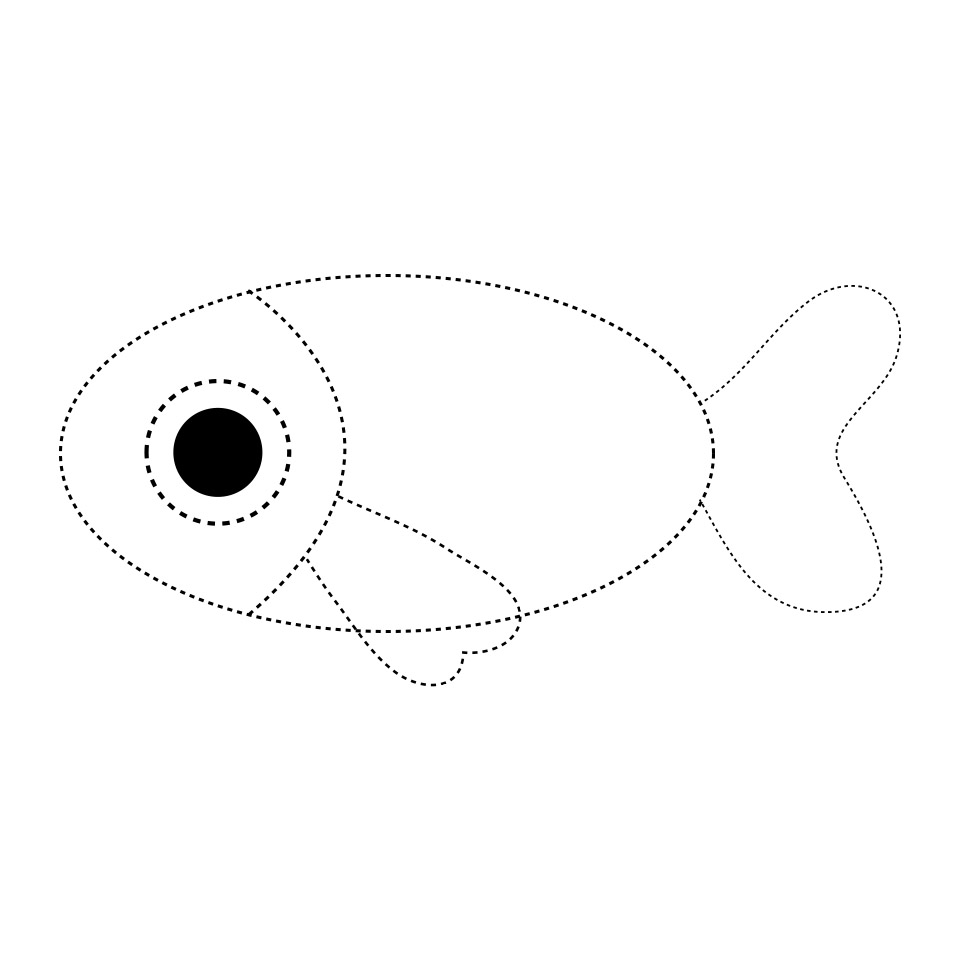
Step 4
Let’s work on the fins of the fish. We will draw a curved line at the line indicating the gills. We will draw another curved triangular shape at the right-hand side of the oval.
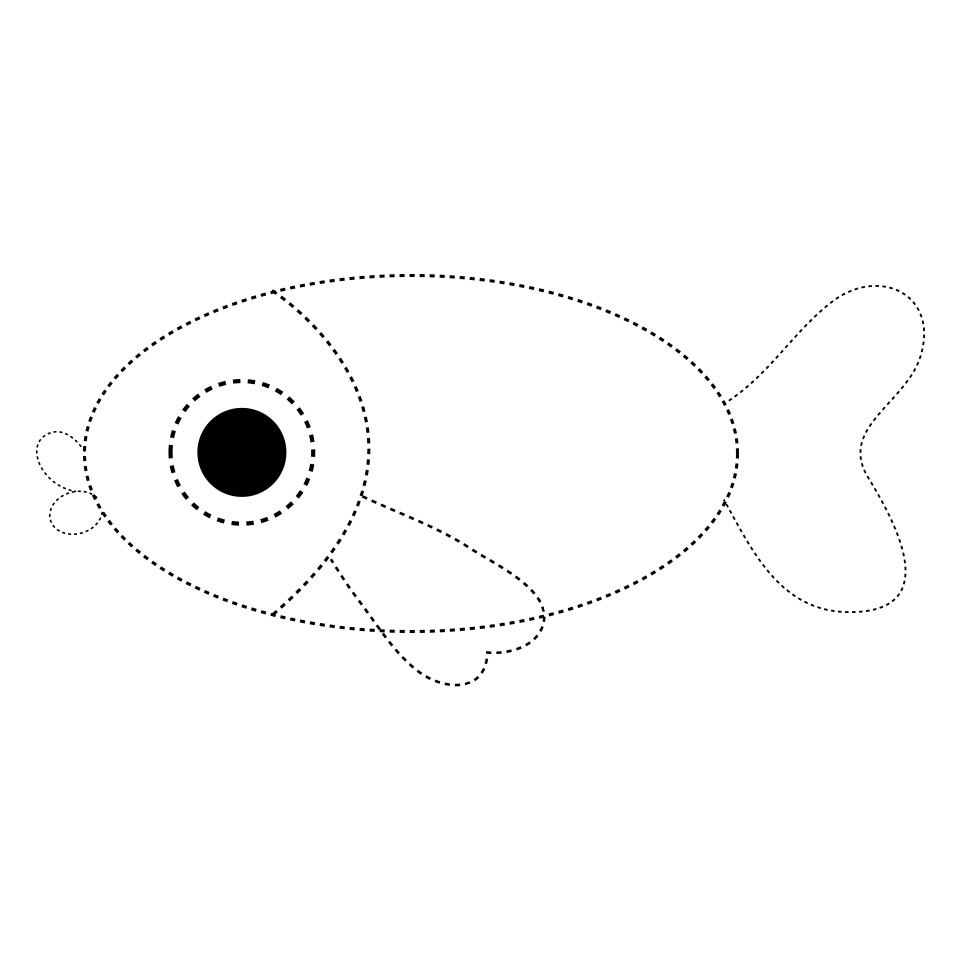
Step 5
Draw two circles along the left-hand side of the oval for the lips.
Step 6
Draw many curved lines on top of the oval to add more fins.
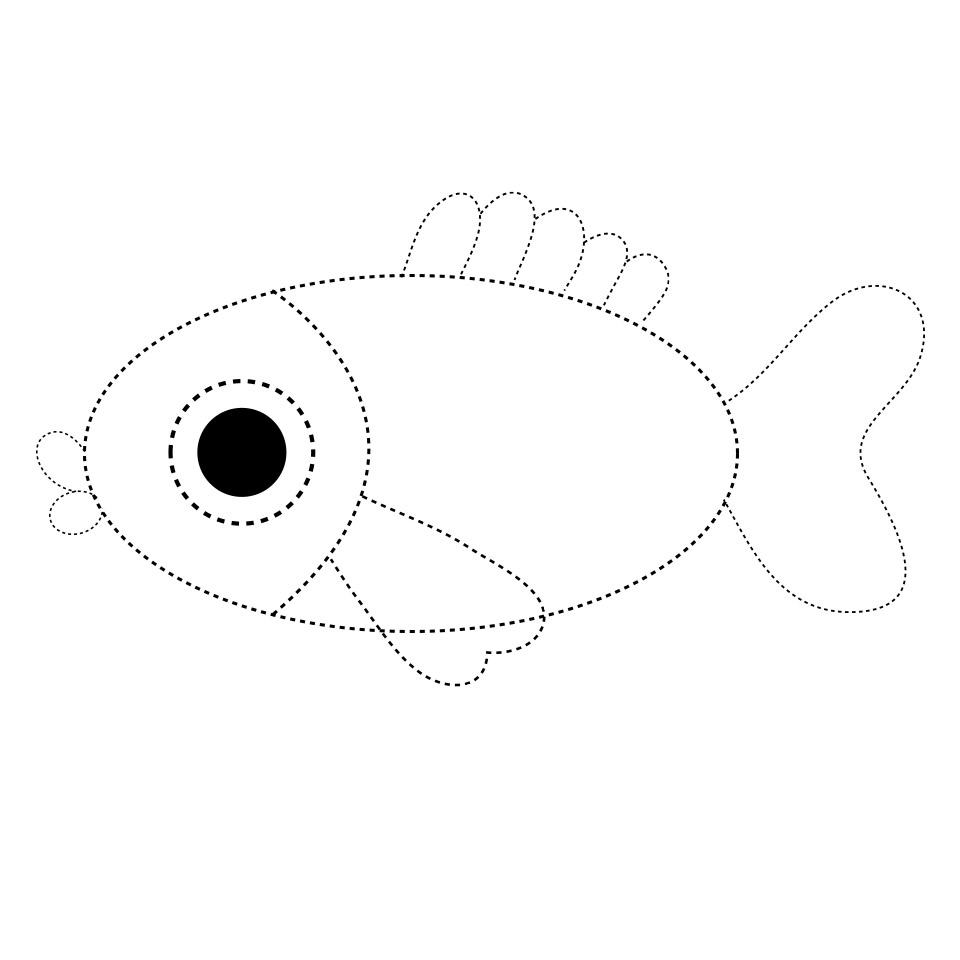
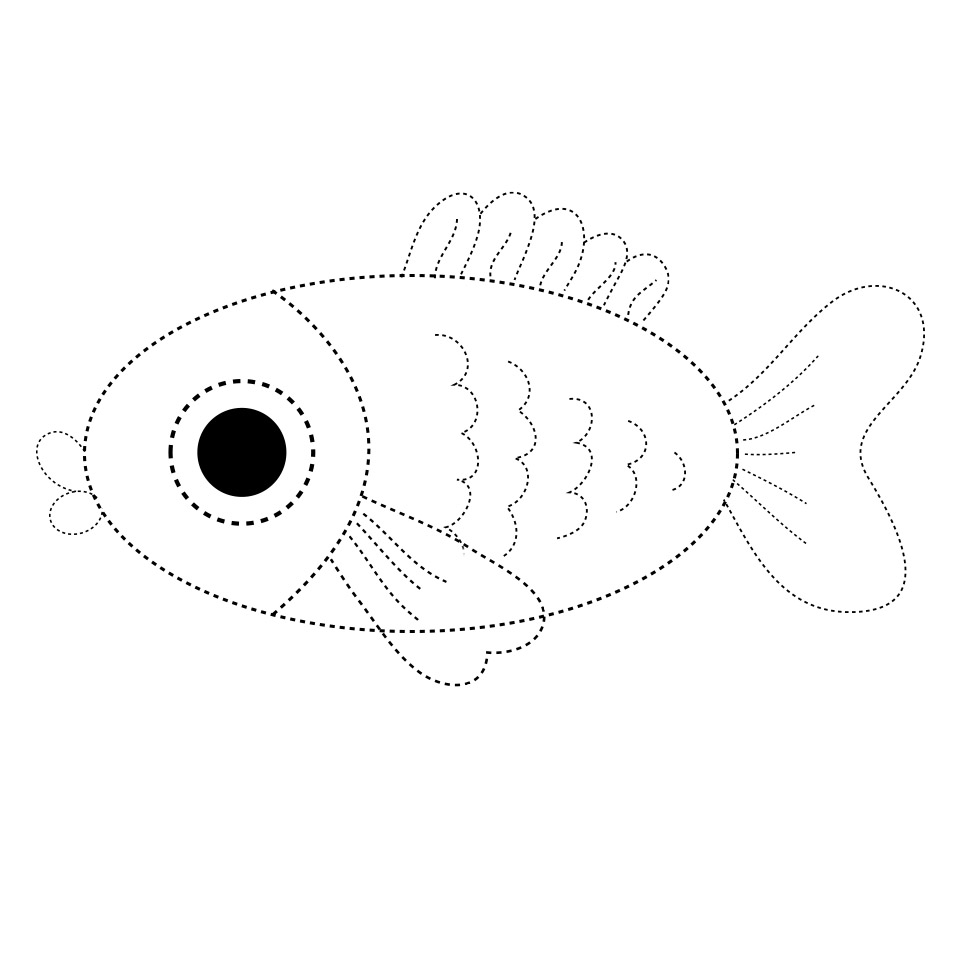
Step 7
Final step! Add as many details as you want, like scales, folds, and similar patterns.
And now you know how to draw a fish – don’t forget to give it some colour! You can even draw a school of fish.
Why should you make drawing a habit?
Drawing can be a great way of keeping your children occupied and letting them use their imagination and thinking. As they colour their drawings, children can improve their hand to eye coordination, be creative and even spend their time doing something useful. Since it can help in relieving stress, drawing is highly recommended for adults too!
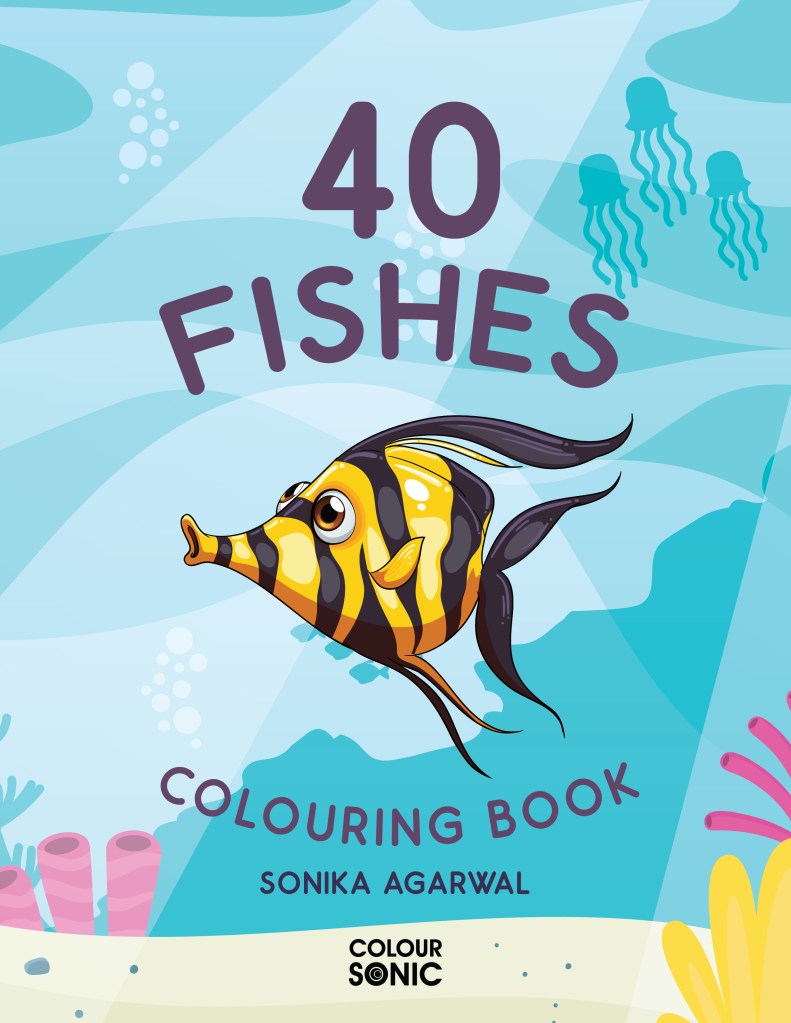
Love fishes? Check out our new colouring book – ‘40 Fishes Colouring Book‘ that contains cute and adorable fish sketches that children will definitely love.

Leave a comment